So, this week I decided to make a coin for my molding and casting project! It was a lot of fun, and I learned a lot from my mistakes along the way.
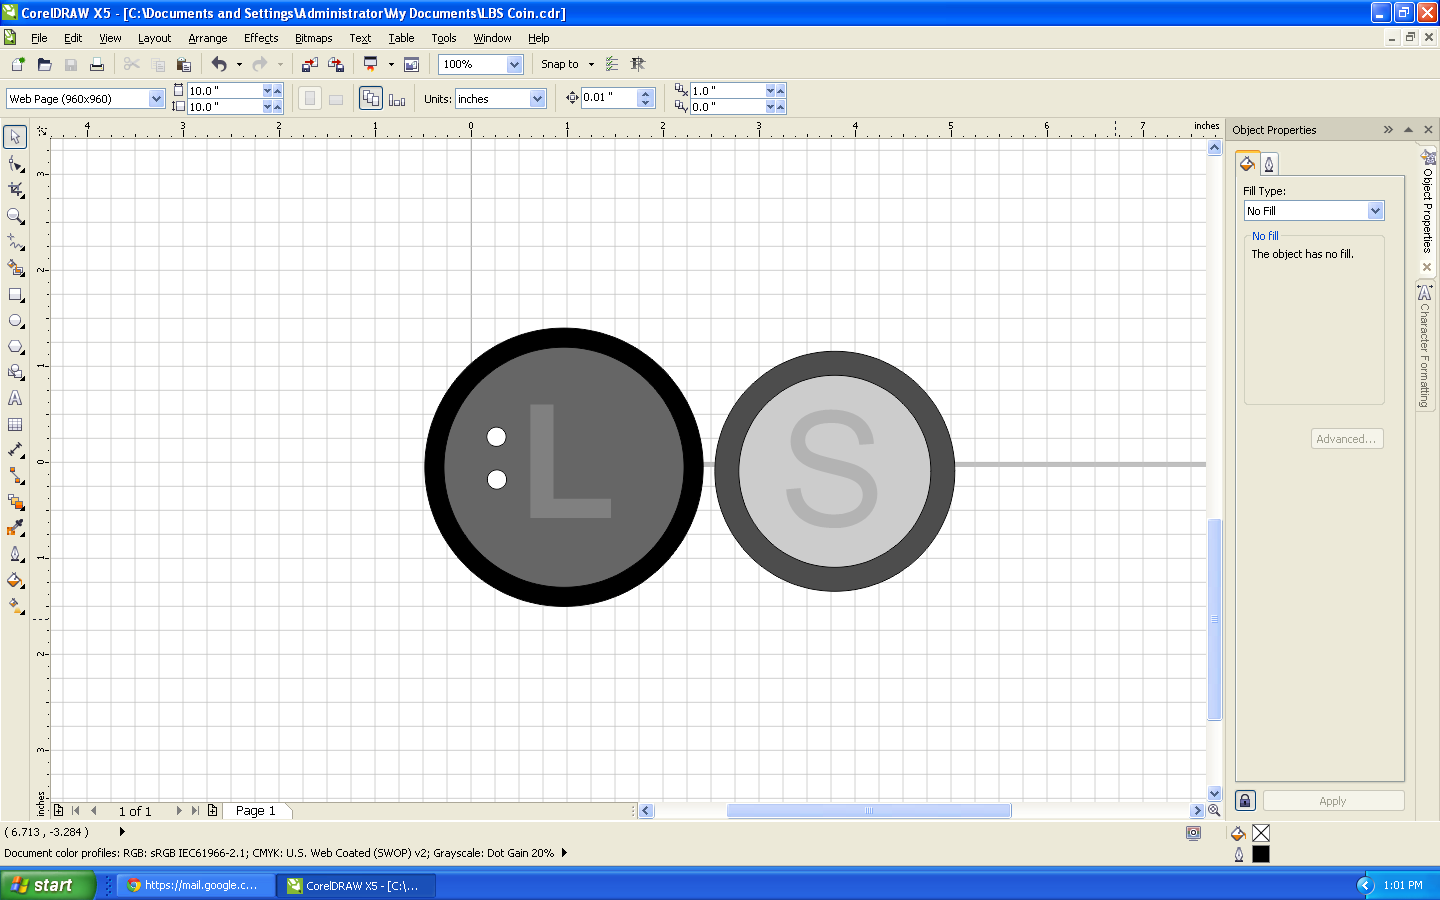
I decided to use CorelDraw in order to make a 2D design for my project. I used greyscale coloring in order to differentiate between height levels. I was able to move between shades of grey increments of “10% Black,” which, for me, represented 0.8 millimeters.
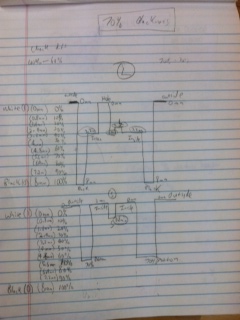
It was a little difficult at first for me to envision my 3D mold with a 2D program; therefore, I wrote out a depth chart in order to visually see how the different levels of grey translated to cut depth relative to each other.
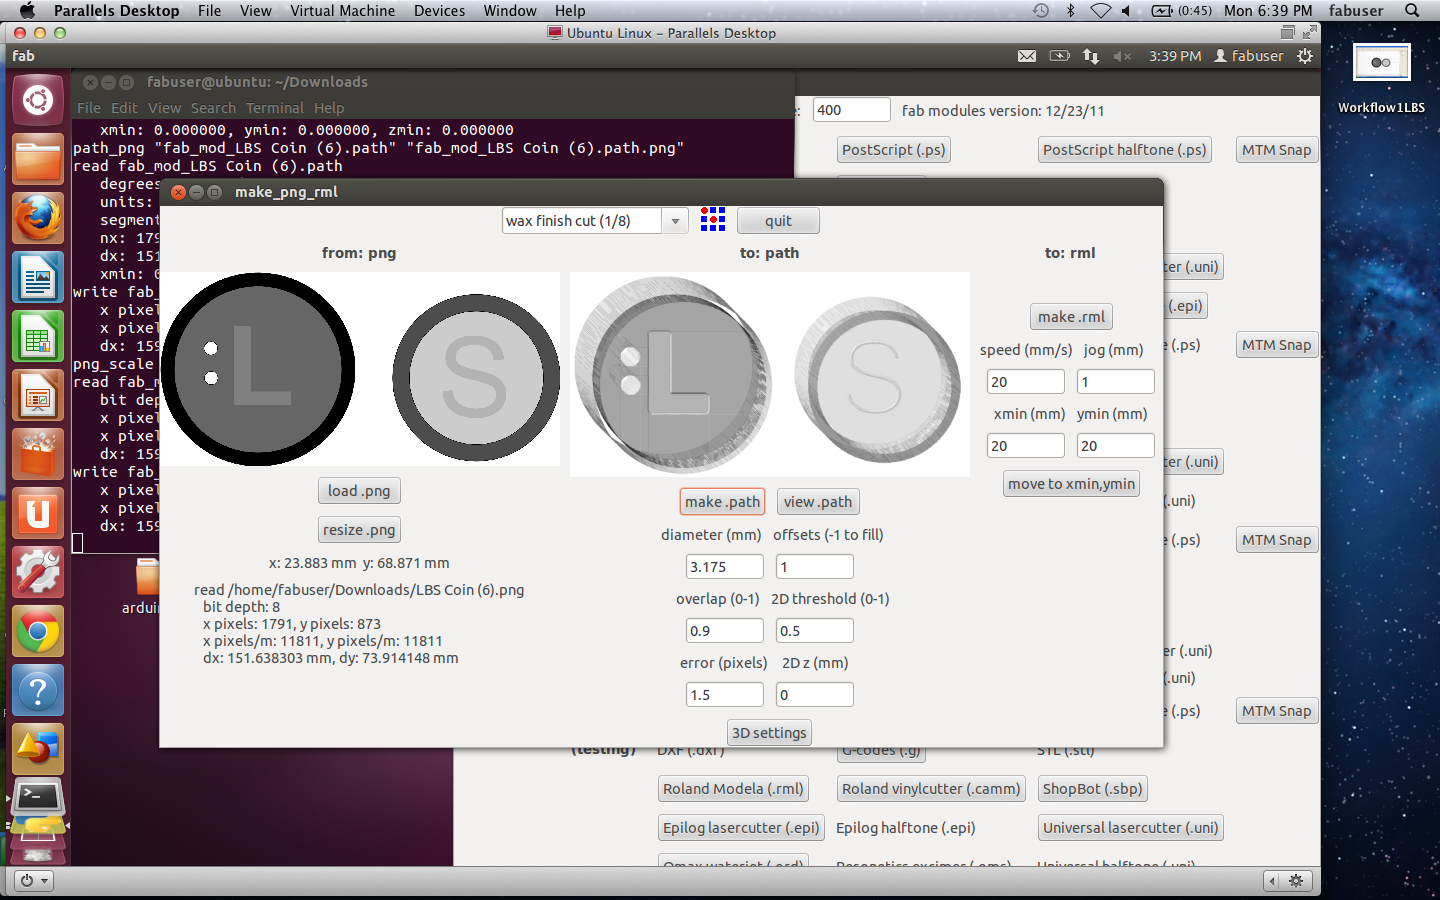
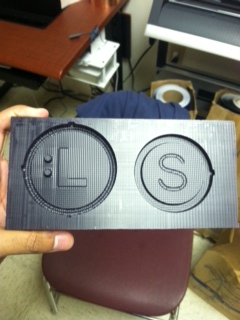
After finishing my design, I exported the .cdr file into a .png file. I opened it in Ubuntu in order to view it in fab modules. It was here that I noticed that I had to make my coins a little bigger in order to see the imprints on them. At first, I wanted to make 1 inch coins; however, I ended up making 2 inch coins so that the 1/8 inch bit could process the outlines for the letter designs on the coins. This is because I was planning to use a 1/8 inch round bit in the Modela MDX40 in order to cut my mold. If a bit is cutting through something, it has to be at least the size of the bit in order for fab modules to recognize that part of the image.
After I was happy with all of my dimensions and the design path, I sent the project to the Modela MDX40, and it began cutting the Machine Wax. Unfortunately, I didn’t place the bit in sturdily enough; therefore, the bit dropped down into the wax while cutting.
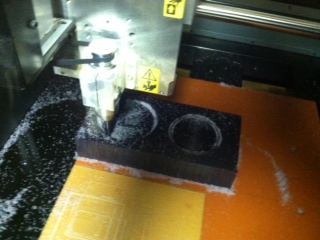
After making sure I had another piece of Machine Wax that was aligned properly across the board, I cut the wax twice: once using a wax rough cut and again using a wax finish cut.
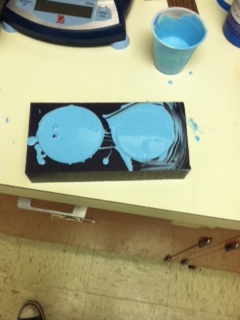
After getting my mold, I filled it using oomoo.
I pulled my mold out of the wax mold after it cured.
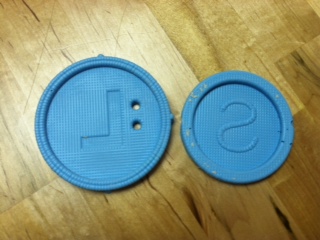
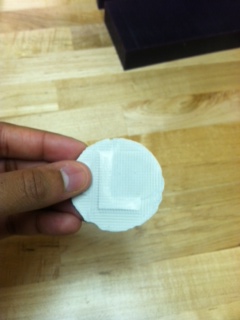
In the oomoo mold, I used Hydro-Stone Super X to cast my coin!